Assign Staffers to Security Groups
When you start with AulT&E, you’ll add staffers and assign them to a security group with user rights. Security groups determine the staffer’s access to your firm’s information and AulT&E’s features.
By default, you’ll have two groups to pick from: “everyone” and “system administrator.” You can also create your own group with customized staffer rights. For example, create a “management” group and give users assigned to this group the right to approve timesheets and expenses. Then, add staffers to this group.
This article will explain your security group options and how to add users to one.
Takeaways
- Assign each staffer a security group: “everyone” and “system administrator.” Or create your own group. A security group determines what features a staffer can and cannot access in AulT&E.
- Create your own security group. Some companies prefer to create their own security groups with specific user rights within AulT&E, like a “financial admin” group.
- Customize security access. Use the on and off switches within a security group to eliminate or add rights within a specific group. For example, turn on “allow user to add projects,” so staffers in the "everyone" group can add projects to AulT&E.
Access Your Security Groups and User Rights
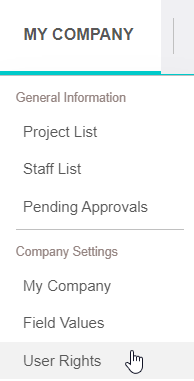
Click MY COMPANY...USER RIGHTS from your navigation bar to access your security groups.
A new window will pop up with the two default groups: “System Administrators” and “Everyone.” In the image above, “Managers” and “Finance” are two custom groups we added.
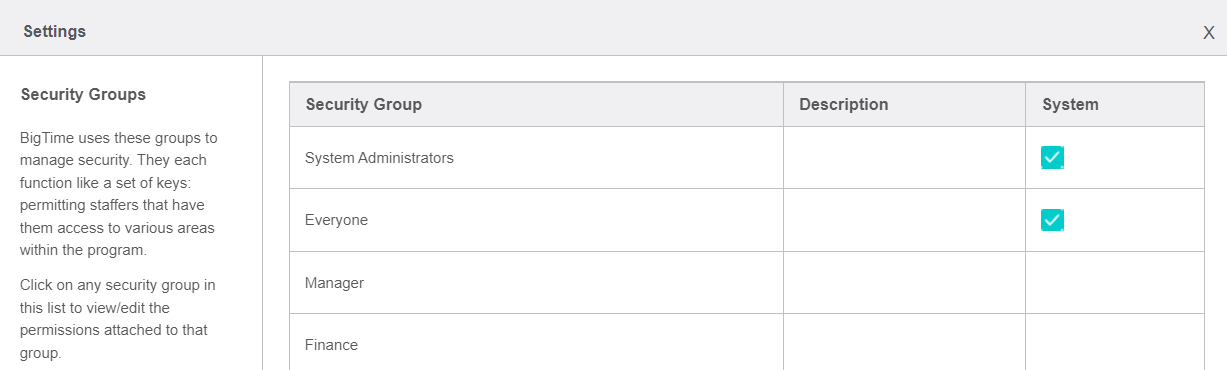
Next, we’ll take a closer look at each group.
Everyone Group
Most staffers are added to the "everyone" group, which allow them to:
- Log time to timesheets,
- See assigned tasks (staffers on a project team can also see unassigned tasks),
- Submit expense reports, and
- Make corrections to timesheets or expense reports when requested by managers.
Note: Two rights are turned on by default: "Allow user to log time/expense against any project" and "View Public Reports.”
Staffers in this group usually don’t create project budgets or add new projects or staffers to AulT&E. For this reason, they don’t need access to management level reporting or accounting data AulT&E imports from QuickBooks. However, you can grant staffers as much access as you’d like, by turning on and off different user rights (explained below).
System Admin Group
System admins set up a company’s AulT&E account and have full access to the system. In other words, they see everything. Some companies like to split up responsibilities and have multiple admins, like an IT admin and an accounting admin. An accounting admin may have access to reports and the ability to edit posted or approved invoices.
Note: System admin rights are “read” only. The System Admin security group cannot be edited, and has all system rights by default.
Create a Security Group
You can also create your own security groups and give certain staffers access to certain features in AulT&E. For example, we created a “Management” and gave this group these rights:
- View/Manage any project,
- View/Manage any staff member,
- View project list menu,
- View staff list menu,
- Allow user to edit approved time/expenses, and
- User has review/approval authority.
There are any number of other rights we could add or remove, which we can do at any time.
Note: Users can be in multiple user rights groups. This is helpful when limiting report access by granting access to a specific user right group.
Turn User Rights On and Off
Here's how you can add or remove user rights to the default security group or the ones you create.
1. Click on a security group, and a new window will pop up.

Your window will look like this:

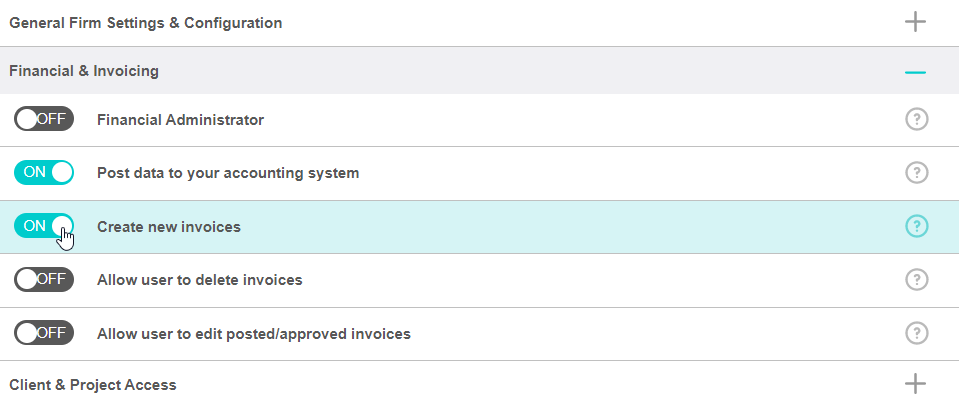
2. Clicking on one of the PLUS SIGNS next to a section will expand your view to show the user rights that fall under each category. Now you can turn the different user rights on and off.
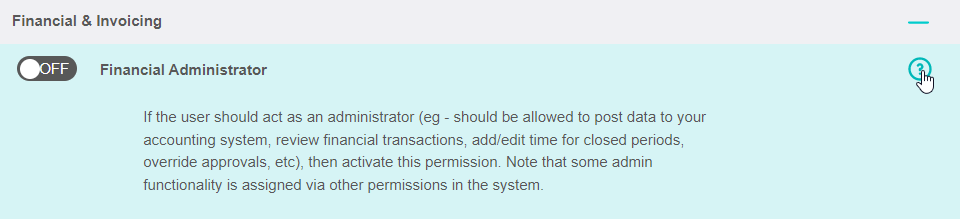
3. Click on the QUESTION MARK to learn more about a user right (see image below).
4. Click SAVE to save your changes.

Add Staffers to a Security Group
Now that you’ve created and customized your security groups, let’s add staffers to them.
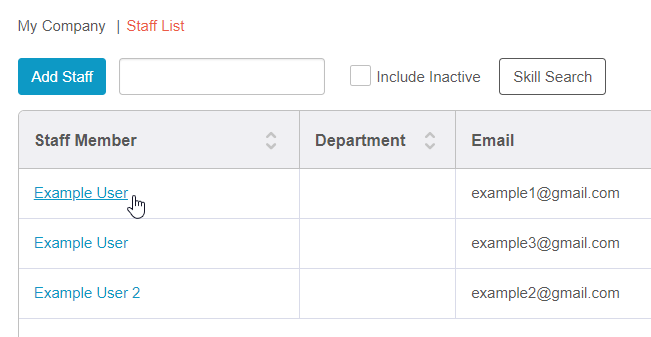
1. Click MY COMPANY...STAFF LIST from your navigation bar.

2. Click on a staffer’s name hyperlinked on the left side of your window. This will take you to the Staff Dashboard for that particular staffer.
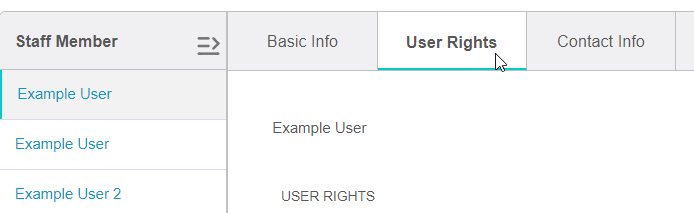
3. Click on the USER RIGHTS TAB.
4. Select the security group(s) you want to give this staffer access to. In the image below, we gave our example staffer access to the management group we created by checking the box next to "Manager".
Note: You can conveniently edit security groups by clicking EDIT.
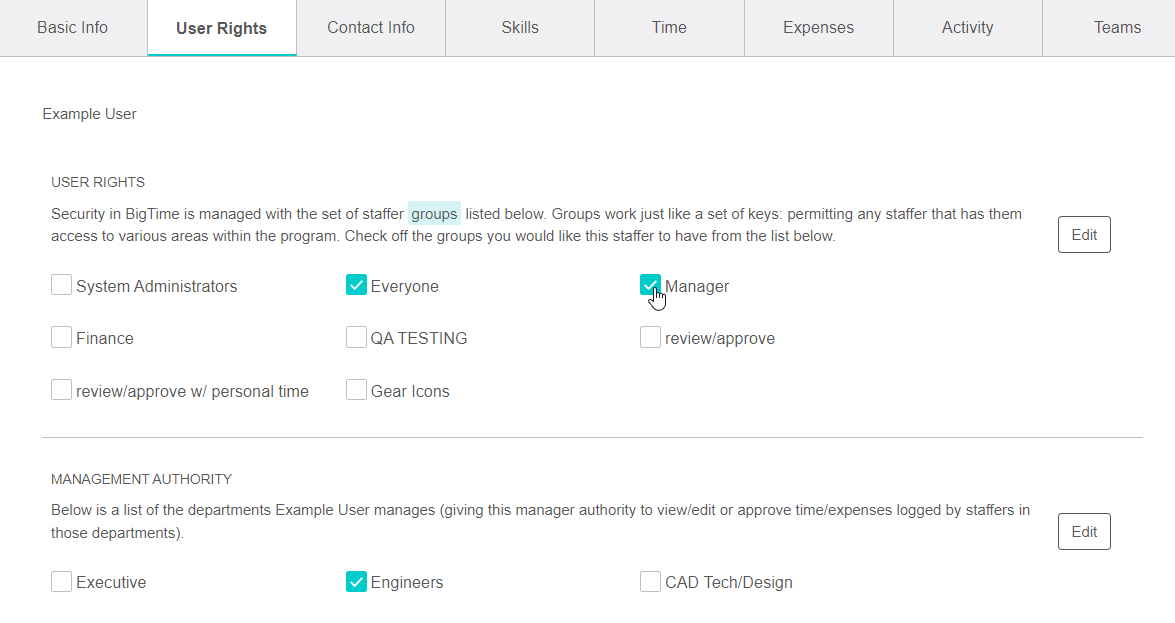
TIP: Specify Management Authority
Specify the department(s) your staffer will oversee by clicking a box(es) under Management Authority. You’ll need to create field values to add values to this section. In the image above, Henry manages “production.”
5. Click the SAVE button at the bottom right to save your work.
