Use Project Budgets
This article will show you how to use Project Budgets.
NOTE: This article assumes that you’ve set up Project Budgets.
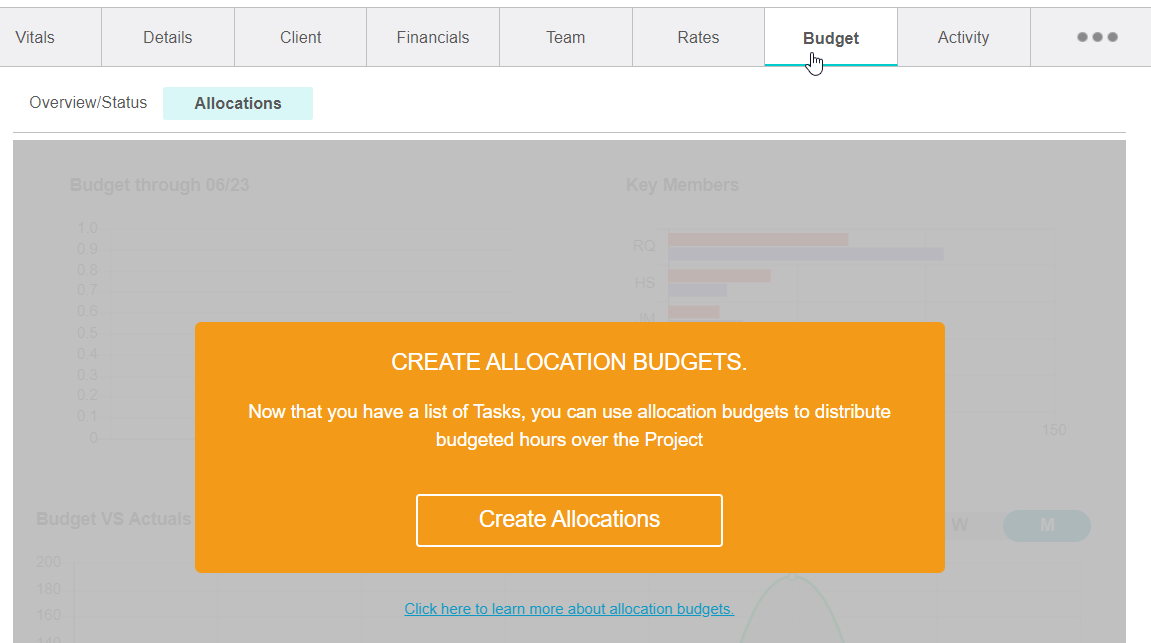
You’ve just selected Project Budgets as your budgeting style, and your Project Dashboard looks like this.
NOTE: Because you’ve chosen to budget on the project level with Project Budgets, you’ll no longer have access to task-level features: Overview/Status, Editor, or Schedule (as shown below) for this particular project. These options are available for projects that are budgeted at the task level.

That means, a project that uses Project Budgets will only give you access to Allocations, which is what we need in order to allocate hours and to enter monthly fee budgets. We’ll do both in the next section.
Use Allocations To Allocate Hours and Enter Monthly Fee Budgets
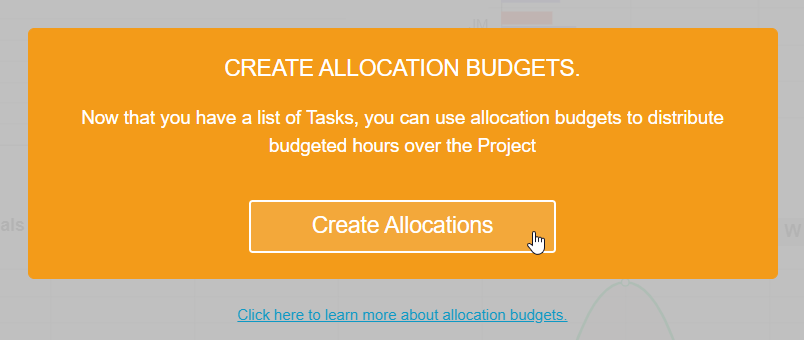
Click CREATE ALLOCATIONS to start allocating hours and entering monthly budgets.
Allocate hours by selecting a staff member from the picklist and allocating hours to them.
Notice that the Total Fees automatically calculates once you click SAVE on the editor. This calculation multiplies the number of allocated hours by the user’s bill rates.

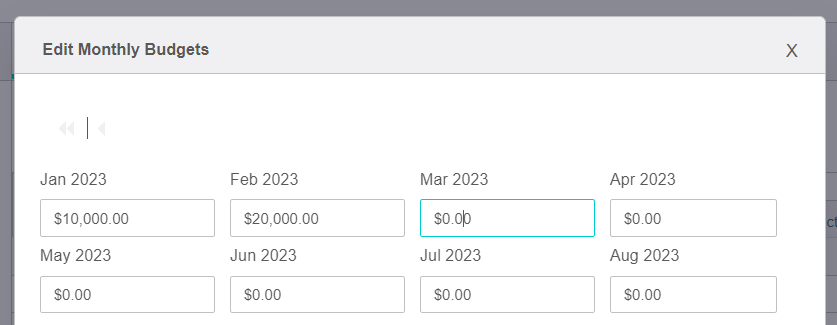
Set a budget amount by clicking on the hyperlink, MONTHLY BUDGET ($).

A new window will pop up, where you’ll enter the monthly budget amount. Click APPLY to apply the amount(s).
Now you can easily compare your allocated fees to your monthly budget. Your Total Fees will appear in red if these fees exceed the monthly budget.
Note: The fees won’t calculate until you click SAVE on your Allocation Dashboard. Or activate the AUTO-SAVE feature, which is located in the top-right corner of your window.