Creating and Deleting Custom Fields for Projects
In AulT&E, you can add extra information about your projects by creating custom fields. You can also edit these fields to personalize your information, from adding a link to a website to creating a picklist (dropdown menu).
Let’s learn how to create a custom field for the first time. Then, we'll explain how to delete a custom field.
1. Click MY COMPANY, on the right-side of the navigation bar, and then click PROJECT LIST. This will take you to your list of projects.

2. Select the project that you want to create a custom field for and click it.

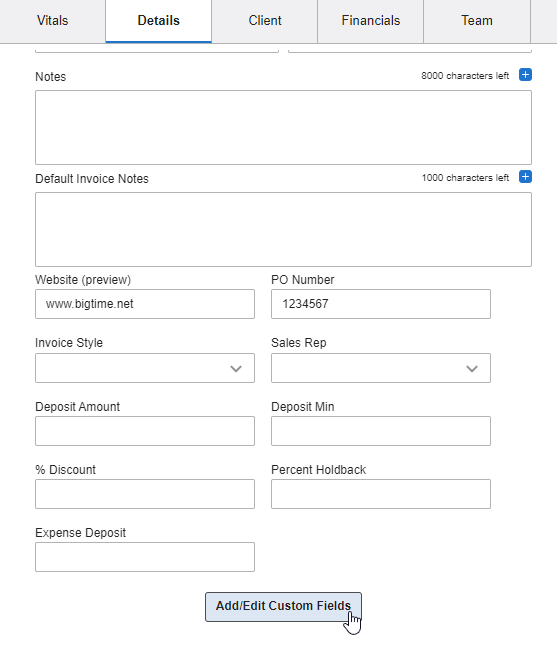
3. Navigate to the DETAILS tab in your project dashboard. Scroll down and click the ADD/EDIT CUSTOM FIELDS button at the bottom of your window.
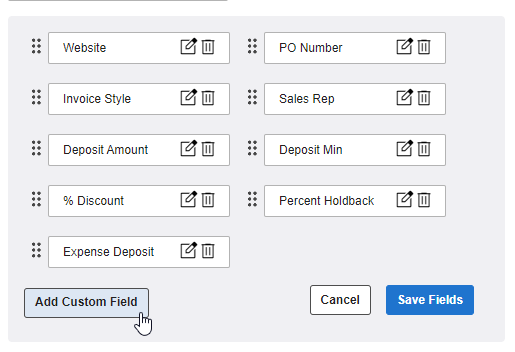
4. Click ADD CUSTOM FIELD.
5. Use the text box to label your new field. In the example below, we labeled our new field “Writing Style.” This way, we can add information about the writing style associated with the project we're working on in a later step.

6. Be sure to click the SAVE FIELDS button to save your work!

Now our custom field label, “Writing Styles,” appears on top of the text box. This is what the custom field looks like:

7. Now add a few words in the text box to provide more information about your project. In the example below, we’re explaining the type of style guide we need to use for this project.

8. Save the information that you entered by clicking the blue SAVE CHANGES button on the bottom-right of your screen.

Now that you’ve made one custom field, you can create more! Or if you’re ready to dive a little deeper into custom fields, click here to learn how to customize your custom fields.
Deleting Custom Fields for Projects
Maybe you made a custom field and no longer need it. Or maybe you made a custom field by mistake. Either way, it’s easy to delete a custom field.
Once you've got the custom field that you want to delete, follow the steps below:
1. Scroll down to the bottom of the gray project box, and you’ll see the custom fields you’ve set up. Your screen will look something like this:

Click on the ADD/EDIT CUSTOM FIELDS button to delete a custom field.
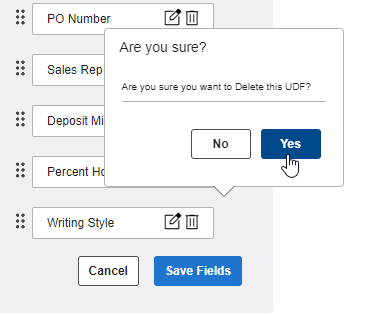
3. Click on the TRASH CAN icon of the custom field that you want to delete.

4. A AulT&E question window will pop up to make sure you really want to delete this field. Click YES to delete it, and AulT&E will remove the field.
5. Save your changes by clicking on the blue SAVE FIELDS button.
